
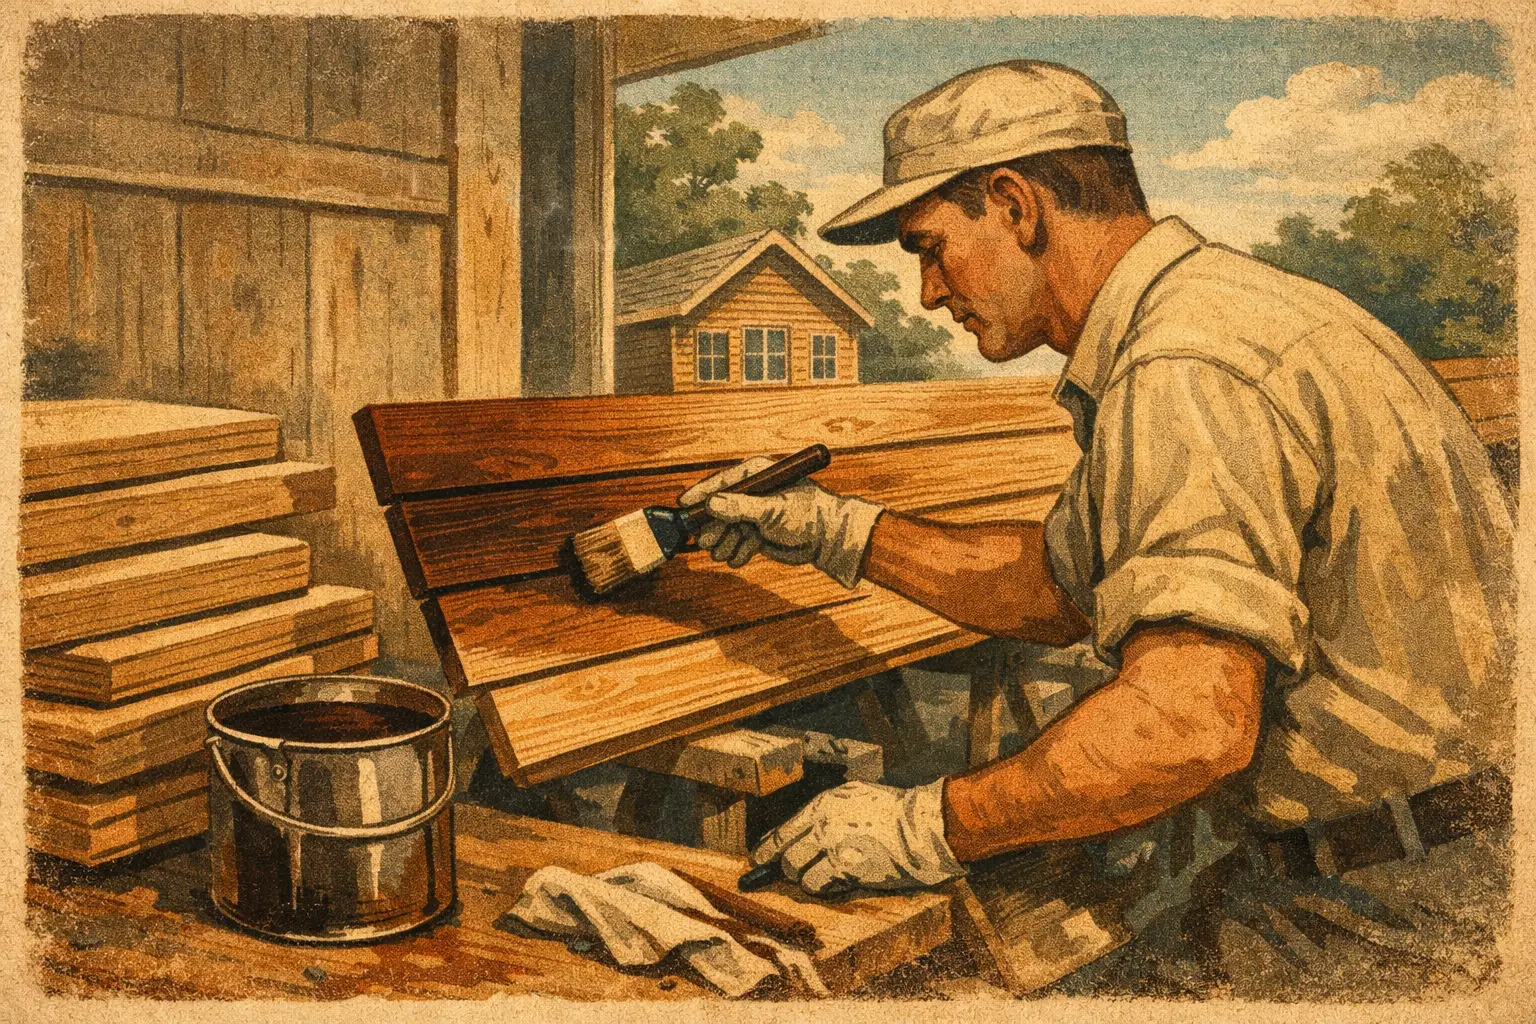
Pre Staining Wood Siding for Better Results
A siding finish can only protect the surfaces it reaches. Once boards are installed, their back faces, edges, lap joints, and cut ends become difficult or impossible to coat properly. That is why pre staining wood siding is often the smarter choice for new homes, cottages, additions, and high-exposure exterior projects.
For Muskoka properties, this is more than a cosmetic decision. Wood cladding is exposed to rain, snow, sun, humidity, and long stretches of seasonal temperature change. A consistent finish applied before installation helps protect the material from every accessible side while delivering the clean, even appearance that premium wood siding deserves.
What Pre Staining Wood Siding Means
Pre-staining is the process of applying stain or a specified exterior coating to siding boards before they are installed on the building. It is typically completed in a controlled shop environment, where the material can be inspected, prepared, coated, and allowed to dry under more stable conditions than an active construction site allows.
The process is often called pre-finishing, although pre-finishing may also include clear sealers, primers, solid-color stains, or topcoats depending on the siding species and the desired final look. The key advantage is coverage. Each board can be finished on its face, back, edges, and often its ends before it is fastened to the wall.
That does not mean the job is finished forever before the siding arrives on site. Boards may still require field touch-ups after cutting and installation. Some systems also call for a final coat after installation. The correct approach depends on the stain manufacturer’s system, the wood species, the siding profile, and the level of exposure on the property.
Why Pre-Stain Before Installation?
Wood naturally absorbs and releases moisture. When only the visible face is coated, moisture can still enter through the back or edges, especially where wind-driven rain, condensation, and seasonal humidity are factors. Coating more of the board helps slow that moisture movement and can reduce uneven weathering, cupping, checking, and stain failure.
Pre-staining also produces a cleaner finish at the joints. On installed lap siding, tongue-and-groove boards, board-and-batten systems, and other profiles, parts of the wood are hidden once the wall is assembled. Those uncoated areas may become visible as boards shift slightly over time, or when the wood contracts during dry weather. A dark line of bare wood between finished boards can distract from an otherwise beautiful exterior.
For builders, pre-finishing can improve scheduling as well. Siding arrives ready for installation rather than requiring a crew to wait for suitable exterior painting weather. This can be particularly valuable during a short construction season or on a cottage project where trades need to keep moving.
Controlled Application Makes a Visible Difference
Applying stain in a shop does not eliminate the need for skill. It creates the conditions for better consistency. Boards can be laid out, inspected under proper lighting, sanded or cleaned where needed, and coated without airborne job-site dust, sudden rain, direct hot sun, or wet grass affecting the work.
Proper preparation starts with the wood itself. Mill glaze, surface contamination, rough grain, and moisture content can all affect penetration and adhesion. A professional finishing team evaluates the product being used rather than assuming every board will accept stain in the same way. Cedar, pine, spruce, fir, and engineered wood products each have different characteristics, and some require a specific primer or coating system.
Consistent application also matters. Too little stain can leave the wood underprotected, while overapplication can create lap marks, a blotchy appearance, or a finish that does not cure as intended. Even on projects where a natural wood look is the goal, careful coating technique is what separates a refined exterior from one that looks uneven after its first season.
The Areas Most Often Missed on Site
The face of a siding board is usually easy to reach after installation. The vulnerable areas are the ones that disappear behind the finished wall. Pre-staining gives attention to those surfaces before they are concealed.
This is especially helpful for board-and-batten siding. If the boards behind the battens are not finished first, seasonal movement can reveal narrow strips of raw wood alongside the battens. On tongue-and-groove siding, the tongues and grooves can also show bare lines as the wood adjusts. For lap siding, the lower edge and overlapping section may receive limited coverage when stain is applied only after installation.
End grain deserves special attention. Cut ends absorb moisture faster than the flat face of a board, which makes them a common starting point for staining problems. Every field cut should be sealed or touched up during installation, even when the boards were pre-finished. This is one detail that should be clearly assigned between the finishing contractor and the installer before the work begins.
When Pre-Staining Is Especially Worth It
Pre-finishing is a strong fit for many exterior wood projects, but it offers particular value in certain conditions:
- New cedar, pine, or engineered wood siding on homes and cottages with broad weather exposure
- Projects using dark or semi-transparent stains, where uncoated joints are more noticeable
- Board-and-batten, tongue-and-groove, shiplap, and lap siding profiles with concealed surfaces
- Builds with tight schedules or uncertain site conditions
- High-end properties where consistent color and long-term presentation are priorities
It is also worth considering when siding will be installed high above grade, behind landscaping, or in locations that will be difficult to access for maintenance. Better coverage at the beginning can reduce avoidable issues later.
Choose the Coating System Before the Boards Are Finished
The best stain is not simply the one with the color you like on a sample board. It must suit the wood, the architecture, and the exposure. Transparent and semi-transparent stains preserve more grain character, but they generally need more frequent maintenance than solid-color products. Solid stains provide stronger color uniformity and can be a practical option when boards have varied grain or natural color variation.
Oil-based and water-based systems also perform differently. Modern water-based exterior products can offer excellent color retention and easier cleanup, while penetrating oil systems may be preferred for certain wood species and desired looks. The right choice comes down to the manufacturer’s specifications, the siding condition, and the maintenance expectation of the owner.
A test panel is useful, particularly with natural wood. Stain can look different once it dries, and it may vary from one board to another based on grain density. Confirming the color and sheen before the full run is coated protects everyone from a costly surprise after installation.
Pre-Staining Does Not Replace Careful Installation
A well-finished board can still fail if it is installed incorrectly. Wood siding needs proper clearance from roofs, decks, grade, and horizontal surfaces where water can collect. Flashing, drainage planes, fasteners, ventilation, and end-cut treatment all matter. Finishing and installation should work as one system.
Site handling matters, too. Finished boards should be stored dry, off the ground, and protected from damage. Dragging siding across rough surfaces, stacking wet boards tightly, or leaving coated materials exposed before installation can mark the finish or affect drying. A small amount of organization on site protects the work completed in the shop.
After installation, inspect the exterior in natural light. Look for cut ends, nail marks, scuffs, and areas affected by handling. Touch-ups should blend with the specified finish rather than becoming obvious patches. On premium cottages and homes, these final details are where a professional result becomes apparent.
Plan for Maintenance From the Start
No exterior wood finish is maintenance-free, particularly in a lakefront or wooded setting. Trees, pollen, damp shade, ultraviolet exposure, and snow accumulation all affect how long a stain performs. The goal of pre-finishing is not to avoid maintenance indefinitely. It is to begin with more complete protection and make future care more manageable.
Periodic washing removes surface contaminants that can feed mildew and dull the finish. Annual visual checks help catch worn edges, failed caulking, water staining, and exposed end grain before they spread. Recoating schedules vary widely, but an exterior that is monitored and maintained early will generally cost less to preserve than one left until peeling, graying, or moisture damage becomes widespread.
For builders and property owners who want greater control over quality, a controlled pre-finishing process is a practical investment. Roll On Painting brings the same preparation-focused approach to siding, trim, and millwork that high-value Muskoka properties require. Start the project with the coating system, installation plan, and touch-up responsibilities clearly defined, and the finished exterior will have a far better chance of aging with the property rather than working against it.