
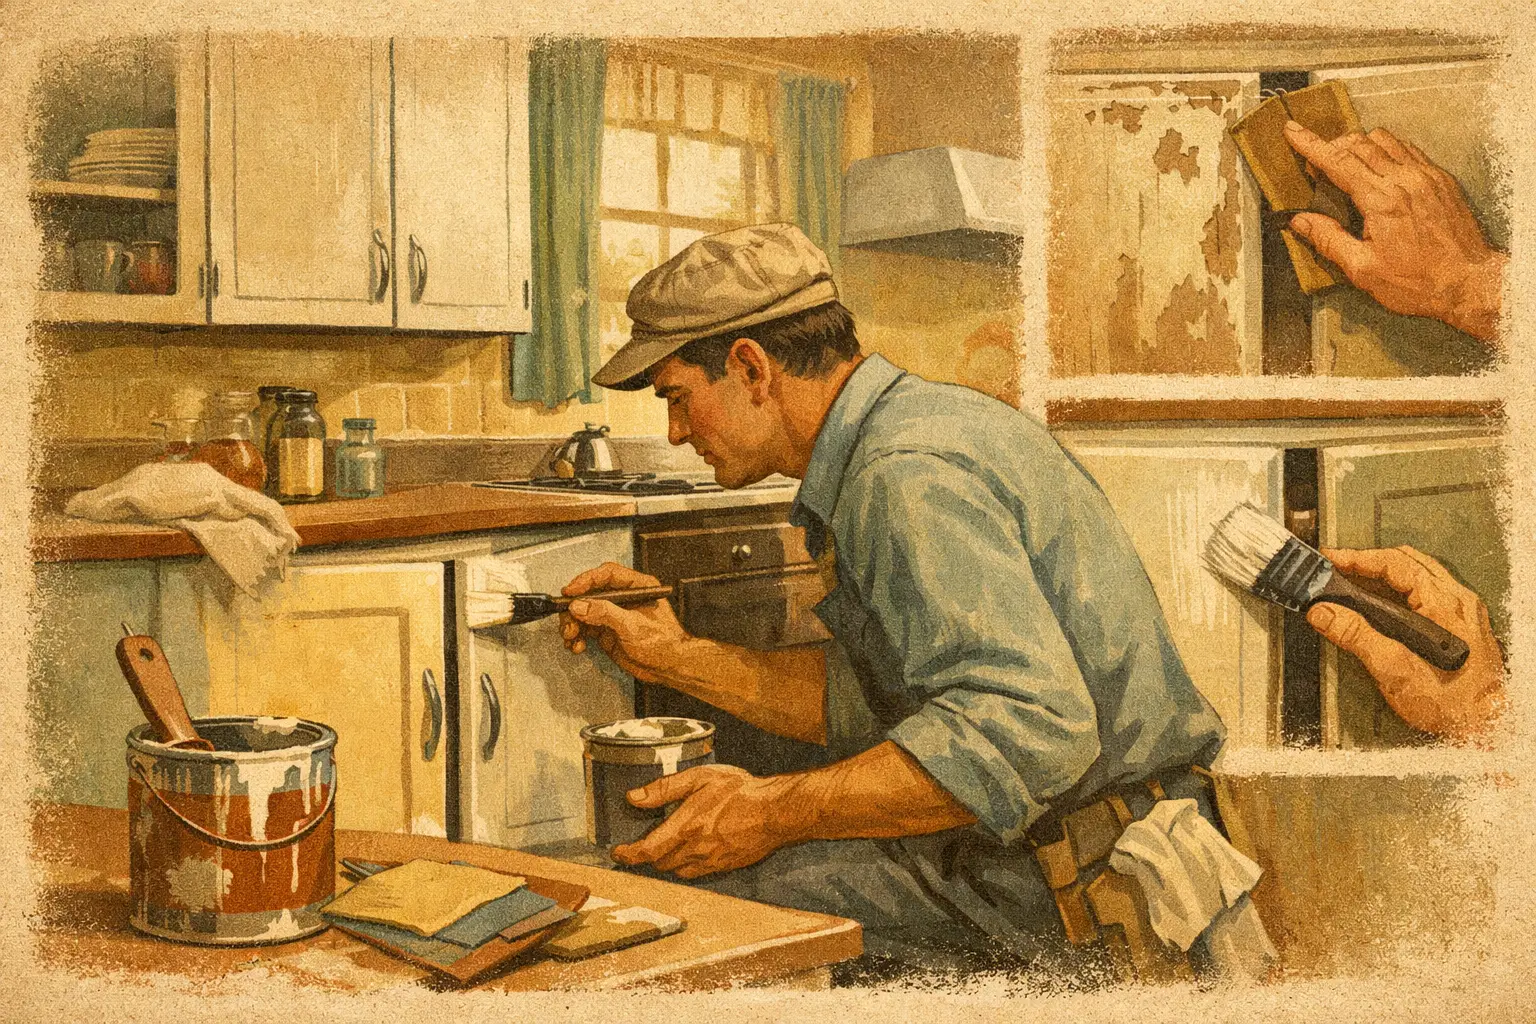
Painted Cabinet Repairs That Protect Your Kitchen
A painted kitchen can look tired long before the cabinetry itself has reached the end of its useful life. Small chips around pulls, peeling near the sink, yellowed doors, and worn edges are common concerns in busy Muskoka homes and cottages. Professional painted cabinet repairs address those flaws at their source, preserving sound cabinetry while restoring the clean, intentional finish that makes the whole room feel cared for.
The right repair is not always a quick brush touch-up. Cabinets are handled every day, exposed to cooking residue and moisture, and often finished with products that need careful preparation to bond properly. A lasting result begins with identifying what failed and deciding whether a targeted repair or full refinishing will provide the better value.
What Causes Painted Cabinet Damage?
Cabinet paint rarely fails for just one reason. High-contact areas naturally wear faster, especially door edges, drawer fronts, and the space around handles. Repeated cleaning with harsh degreasers can dull or soften some finishes, while grease left behind can interfere with adhesion when a repair is attempted.
Moisture is another frequent factor. In kitchens, it tends to show up beneath the sink, beside the dishwasher, and around cabinet doors near a kettle or range. At cottages, seasonal humidity changes and periods when the property is closed can place additional stress on wood components and finish systems. Paint may crack at joints, lift along exposed edges, or reveal staining from a minor leak that was not caught early.
Sometimes the problem is preparation from a previous painting project. Paint applied over slick factory finishes without adequate cleaning, sanding, bonding primer, or cure time can peel in sheets. In that case, painting over the loose area only postpones the repair. The unstable coating must be removed, and the surface needs to be rebuilt correctly.
When Painted Cabinet Repairs Are Enough
Localized repairs make good sense when the existing finish is stable, the color is still available or can be accurately matched, and damage is limited to a few areas. A small chip, scuff, nail hole, or worn corner can often be repaired without refinishing every cabinet door.
The process should still be methodical. The damaged area is cleaned to remove oils and residue, sanded to feather hard edges, filled if the substrate is dented or gouged, and spot-primed when bare wood or MDF is exposed. The repair is then coated with a compatible finish and allowed to cure as required. Texture and sheen matter as much as color. A touch-up that is technically the right white can remain visible if it is too glossy, too flat, or applied with a different surface texture.
A professional will also be candid about visibility. Paint colors age, sunlight changes exposed doors, and factory coatings may not match a field-applied product exactly. Repairs on an inside edge or lower rail can blend beautifully. A repair in the middle of a large, highly visible door may call for repainting that entire face for a uniform appearance.
Signs Your Cabinets Need More Than a Touch-Up
When chips and peeling appear across multiple doors, isolated painted cabinet repairs can become inefficient and visually inconsistent. Full cabinet refinishing is usually the stronger option when the coating is failing broadly, the color no longer suits the space, or the cabinets have accumulated years of uneven touch-ups.
Watch for peeling around hinges and handles, sticky paint that marks easily, cracks at door joints, widespread yellowing, or paint lifting when masking tape is removed. These are signs that the finish system may not be adhering as it should. Cabinets with water damage need extra attention as well. Swollen particleboard, delaminating veneer, or soft material under the sink may require carpentry repair or replacement before any coating work begins.
Refinishing is also worth considering during a larger kitchen update. If countertops, backsplash, hardware, and lighting are changing, a consistent cabinet color can bring the room together at a fraction of the disruption and cost of cabinet replacement. The trade-off is time: proper refinishing requires removal or masking, surface preparation, priming, multiple finish coats, and curing. It is not a one-day cosmetic shortcut.
The Preparation Behind a Durable Cabinet Finish
A premium cabinet repair depends on what happens before paint is applied. Kitchen surfaces must be thoroughly degreased, including the areas that appear clean. Silicone residue, furniture polish, cooking oils, and hand oils can all compromise adhesion.
Next comes sanding or mechanical abrasion. The goal is not to grind away every previous coating, but to create a sound, properly profiled surface and remove failing material. Chips are feathered so they do not leave a raised outline beneath the new finish. Dents, open grain, and damaged corners are filled with an appropriate product, then sanded smooth. Finishes on cabinetry built before about 1980 should be assumed to contain lead. Have it tested before scraping or sanding, and avoid dry sanding, power sanding or heat stripping; if lead is present the work needs wet methods, containment and HEPA cleanup, or a contractor equipped for it.
Primer selection is equally important. Bare wood, MDF edges, stained areas, and difficult factory coatings do not all respond the same way. A quality bonding or stain-blocking primer helps prevent tannin bleed, isolates repaired spots, and creates a reliable base for the finish coats. The topcoat must be chosen for cabinetry, not simply for walls. It needs the hardness, washability, and adhesion required for doors and drawers that are opened dozens of times a day.
Sprayed finishes often provide the most uniform look on removable doors and drawer fronts, while careful brush and roller work may be appropriate for fixed frames, smaller repairs, or spaces where removal is impractical. Each approach has trade-offs. Spraying can deliver a refined, factory-like surface but requires thorough containment and dust control. Hand-applied coatings can be less disruptive in limited areas, though they may retain a subtle application texture.
Why DIY Touch-Ups Often Stand Out
Homeowners can successfully address a very small nick with a manufacturer-matched touch-up kit, particularly in a low-visibility location. The challenge is knowing when to stop. Overworking a spot with repeated dabs of paint often creates a raised patch that catches the light more than the original chip did.
The most common DIY mistakes are skipping cleaning, using wall paint instead of cabinet-grade coating, applying paint too heavily, and putting doors back into service before the finish has cured. A finish may feel dry within hours but remain vulnerable to pressure, moisture, and abrasion for days or longer. Waterborne cabinet coatings typically need several weeks to reach full hardness, and doors should not be taped, loaded, or closed hard during that period. Closing a freshly painted door against its frame too soon can leave sticking, imprinting, or chipped edges.
Color matching can also be deceptive. Bring a door into different light and the same paint can look warmer or cooler. For a kitchen with many doors, repainting one complete door or drawer front is often less noticeable than spot-painting a highly visible damage area.
Planning Cabinet Work With Less Disruption
A cabinet project should be organized around how the kitchen is used. Protecting countertops, flooring, appliances, and adjacent rooms is essential, especially in furnished homes and seasonal properties. Doors and drawer fronts may be removed and labeled so every component returns to its correct location. Hardware should be documented and stored carefully, particularly when specialty pulls or hinges are being reused.
For occupied homes, discuss access, drying time, ventilation, and a realistic schedule before work begins. If a kitchen is the center of a busy household, phased work may be possible, but it can extend the project. For a cottage undergoing several improvements at once, cabinet refinishing can be coordinated with interior painting, wallpaper removal, or new countertops to reduce repeated disruption.
Roll On Painting approaches cabinet work with the same preparation standards used across high-value homes and cottages: clean work areas, clear communication, and finish systems selected for the surface rather than a one-size-fits-all solution. Proper insurance and WSIB coverage also matter when work is taking place inside an occupied property.
Protecting Your Repaired Cabinet Finish
Once repairs or refinishing are complete, gentle maintenance helps preserve the result. Use a soft cloth with mild soap and water when needed, then dry the surface rather than allowing moisture to sit along seams and edges. Avoid abrasive pads, strong solvents, and repeated use of aggressive degreasers unless the coating manufacturer specifically recommends them.
Address leaks quickly, especially beneath sinks and around dishwashers. Add or replace soft-close bumpers if doors are striking the frames, and consider updating loose hardware before it enlarges holes or damages the paint around pulls. These small measures can prevent a minor maintenance item from turning into a more involved repair.
A well-executed cabinet repair does more than hide damage. It protects the cabinetry you already own and keeps the kitchen looking appropriate for the standard of the rest of your home or cottage. When the underlying finish is sound, careful local work may be all that is needed. When it is not, a properly planned refinishing project gives the room a fresh start built to hold up to everyday use.