
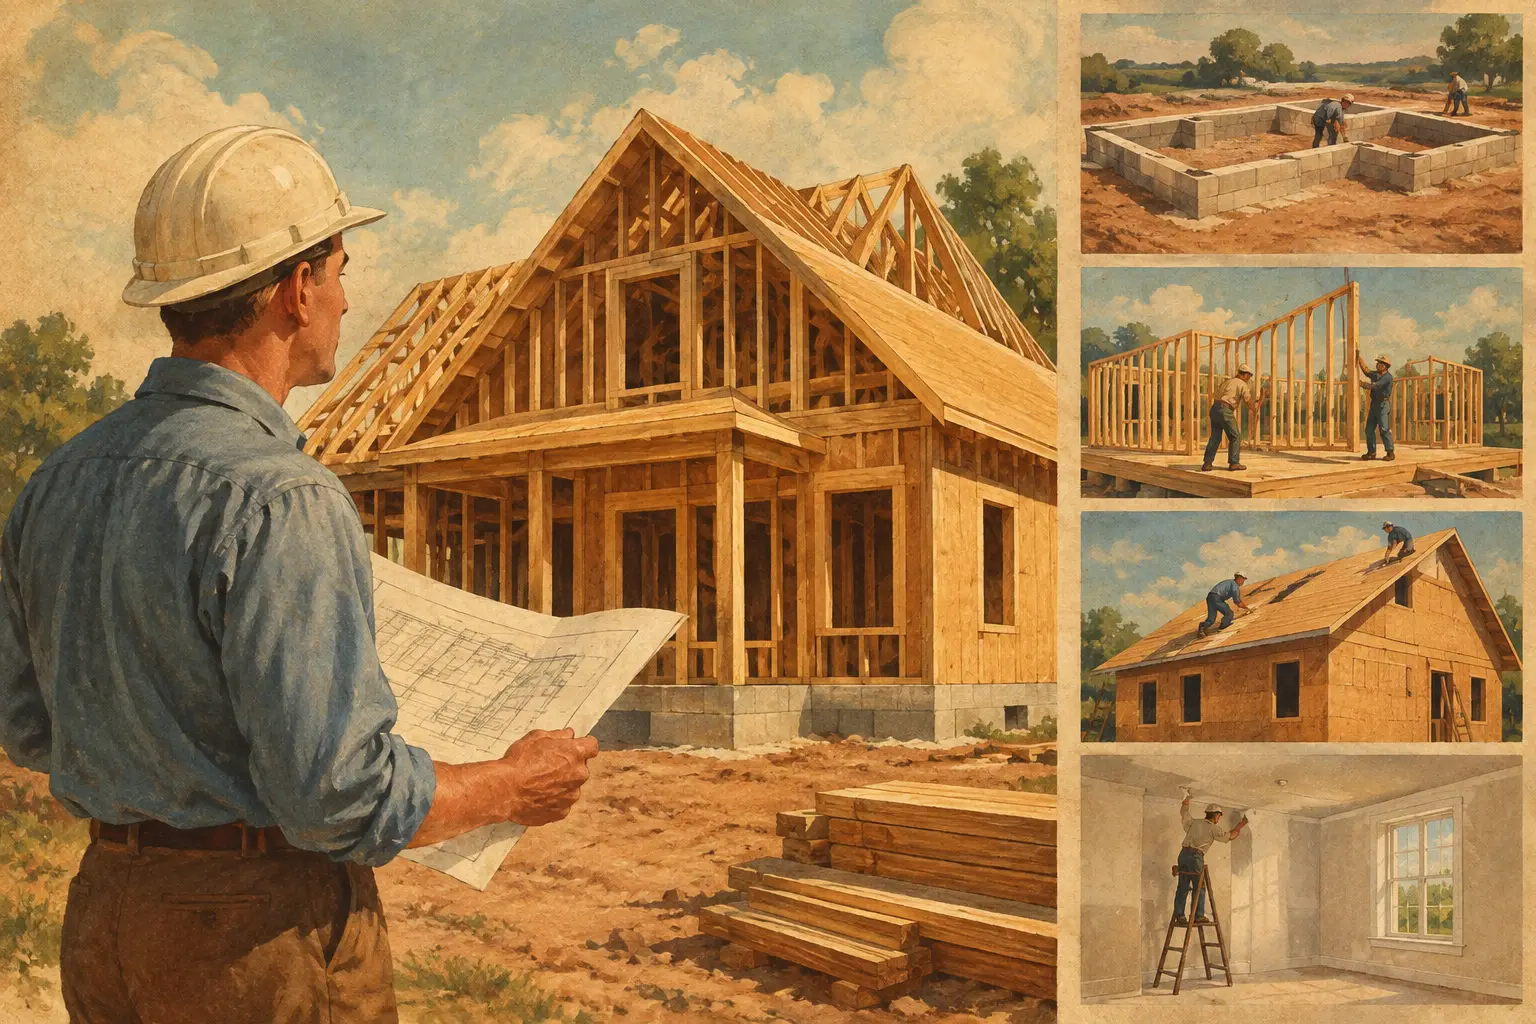
New Construction Sequencing for Better Finishes
A beautiful paint job can be damaged in a single afternoon when the wrong trade enters at the wrong time. On a new Muskoka home or cottage, new construction sequencing is not simply a builder’s scheduling exercise. It is the practical plan that protects millwork, flooring, cabinetry, siding, and finished walls while keeping every trade productive.
For owners, the difference shows up at handoff. Well-sequenced work feels clean, intentional, and complete. Poorly sequenced work often creates avoidable touch-ups, marked floors, chipped trim, dust trapped in finishes, and last-minute pressure that no one enjoys. The goal is not to make one trade wait unnecessarily. It is to establish the right order, site conditions, and protection so quality work stays quality work.
Why New Construction Sequencing Matters
Painting and finishing sit near the end of construction, but they influence decisions much earlier. Drywall quality, trim installation, lighting placement, flooring protection, HVAC operation, and cabinetry timing all affect the final result. A painter can prepare and coat a surface correctly, yet still be left repairing damage caused after the finish has cured.
This matters even more in cottage country. Many Muskoka projects have long lead times, multiple specialty trades, seasonal access considerations, and valuable natural materials such as wood ceilings, beams, paneling, and custom millwork. A schedule that works on a simple subdivision build may not account for a waterfront property’s detailed finishes or changing site conditions.
The strongest sequence creates clear handoffs. Each trade understands what must be complete before the next phase begins, what needs protection, and who is responsible for correcting damage before work moves forward. That clarity reduces friction between trades and gives the homeowner a more reliable path to completion.
The Right Sequence Starts Before Paint Arrives
Finish quality is largely determined before the first coat is applied. The painting contractor should be brought into the conversation while the builder is still planning trim, wall finishes, siding, cabinetry, and flooring. This is particularly useful when pre-finishing trim, millwork, doors, or siding in a controlled shop environment.
Pre-finishing can improve consistency because materials can be coated before installation, with all faces protected instead of only the exposed surface. It can also reduce onsite spraying, drying delays, and congestion. The trade-off is coordination: materials must be measured correctly, delivered in the proper order, handled carefully during installation, and reserved for final nail-hole filling and touch-up after they are in place.
For many custom homes and cottages, the most effective approach is a blend of shop pre-finishing and onsite completion. Trim and paneling receive their primary finish before installation, then the installed work is filled, caulked where appropriate, and touched up as part of the final finish phase. The right choice depends on the material, profile, color, sheen, installation method, and the level of detail expected.
Confirm Moisture, Temperature, and Drywall Readiness
Interior finishing should not begin because a calendar says it is time. The building needs stable conditions. Heat should be operating, humidity should be reasonably controlled, and drywall compound must be fully dry. Rushing this phase can lead to flashing, poor adhesion, visible joints, cracking, or uneven sheen.
Before painting begins, the drywall and trim should be ready for critical inspection. Walls need consistent sanding, properly addressed fasteners and joints, clean corners, and surfaces free of construction dust. Trim should be installed securely, with nail holes filled and gaps reviewed. A premium finish cannot conceal poor substrate preparation, especially under low-angle light from large windows or waterfront-facing rooms.
A Practical New Construction Sequencing Plan
Every project has exceptions, but the order below prevents many of the most common finish failures.
1. Complete Dust-Heavy and Wet Work First
Framing, mechanical rough-ins, drywall, major sanding, tile cutting, concrete work, and other high-dust tasks should be substantially complete before final finish work begins. If more cutting or demolition is expected later, it should be clearly identified in the schedule.
Paint can be used strategically before some installations, but the site must be honest about what remains. Applying final wall coats before electricians, cabinet installers, countertop crews, or HVAC contractors have finished can create a cycle of patching and repainting. Sometimes a first coat or primer stage is appropriate; final coats should wait until the risk of disturbance is low.
2. Prime and Prepare Before Detail Work Is Locked In
Primer is not a shortcut coat. It helps create a uniform base, reveals surface defects, and supports adhesion for the selected finish system. On new drywall, a quality primer stage gives the project team a chance to inspect walls under proper lighting before expensive finish coats are applied.
This is also the right time to clarify caulking responsibilities. Paintable gaps at trim and walls may need careful caulking, while natural wood movement, certain exterior details, and material transitions may require a different solution. Caulk should never be used as a substitute for proper carpentry or as a way to hide an oversized gap that will reopen.
3. Schedule Cabinets, Flooring, and Final Coats Deliberately
The order of cabinets, flooring, trim, and paint depends on the design. There is no universal answer, which is why builders and owners should avoid assuming that one sequence fits every room.
For example, many projects benefit from painting ceilings and completing initial wall coats before cabinet installation, then completing final wall work after cabinets, countertops, and backsplash are in place. This limits overspray or roller work around finished cabinetry while allowing final touch-ups at wall transitions. In other projects, especially where built-ins are being sprayed onsite, the painter may need a protected, isolated work area before adjacent finishes are installed.
Flooring deserves special attention. Finish painting before final floor installation can reduce the risk of paint on new flooring, but it may leave baseboards or trim work for later. Installing flooring first can help establish finished heights and trim details, but it requires disciplined floor protection throughout the remaining work. The best decision comes from the full scope, not from a rule of thumb.
4. Protect Completed Work Until Handoff
A finished room is not necessarily a protected room. Once painting, staining, or coating is complete, the site still needs rules for access, storage, ladders, moving materials, and cleanup. Protective coverings must be appropriate for the surface and removed carefully. Some coverings can trap moisture, transfer adhesive, or scuff delicate finishes if left too long.
A clean, labeled punch-list process matters here. Damage should be documented promptly, assigned to the responsible trade, and corrected before the final paint review whenever possible. Treating the painter as the default repair crew for every mark on the job may seem convenient, but it adds cost, muddies accountability, and can delay closeout.
Exterior Sequencing Has Its Own Rules
Exterior work follows weather as well as trade order. Siding, soffit, trim, railings, decks, masonry, and landscape work must be planned around moisture, temperature, sun exposure, and access. On a Muskoka property, exterior wood may need careful drying time after rain, washing, or installation before stain or paint can be applied.
If siding or trim is pre-finished, installers need a handling plan that prevents scratches and exposes only limited field touch-up. If it is finished onsite, ensure lifts, scaffolding, and other trades will not damage completed elevations afterward. Deck staining should generally wait until nearby construction and landscaping traffic is finished, otherwise a clean new coating becomes a work surface.
Build Time Into the Schedule for Inspection
The final walk-through should not be the first time finishes are reviewed carefully. Builders, owners, and painters benefit from a pre-final inspection when there is still time to address punch-list items without rushing. View walls under both natural and artificial light, look along trim lines, check transitions around cabinetry and windows, and inspect exterior surfaces from normal viewing distances.
At Roll On Painting, careful preparation, clean work areas, and clear communication are treated as part of the finish itself. That approach is especially valuable on high-value homes and cottages where a small detail can stand out for years.
A well-built schedule leaves room for drying, protection, inspection, and responsible touch-ups. That time is not wasted. It is what allows the final finish to look as though the rest of the construction never had a chance to touch it.