
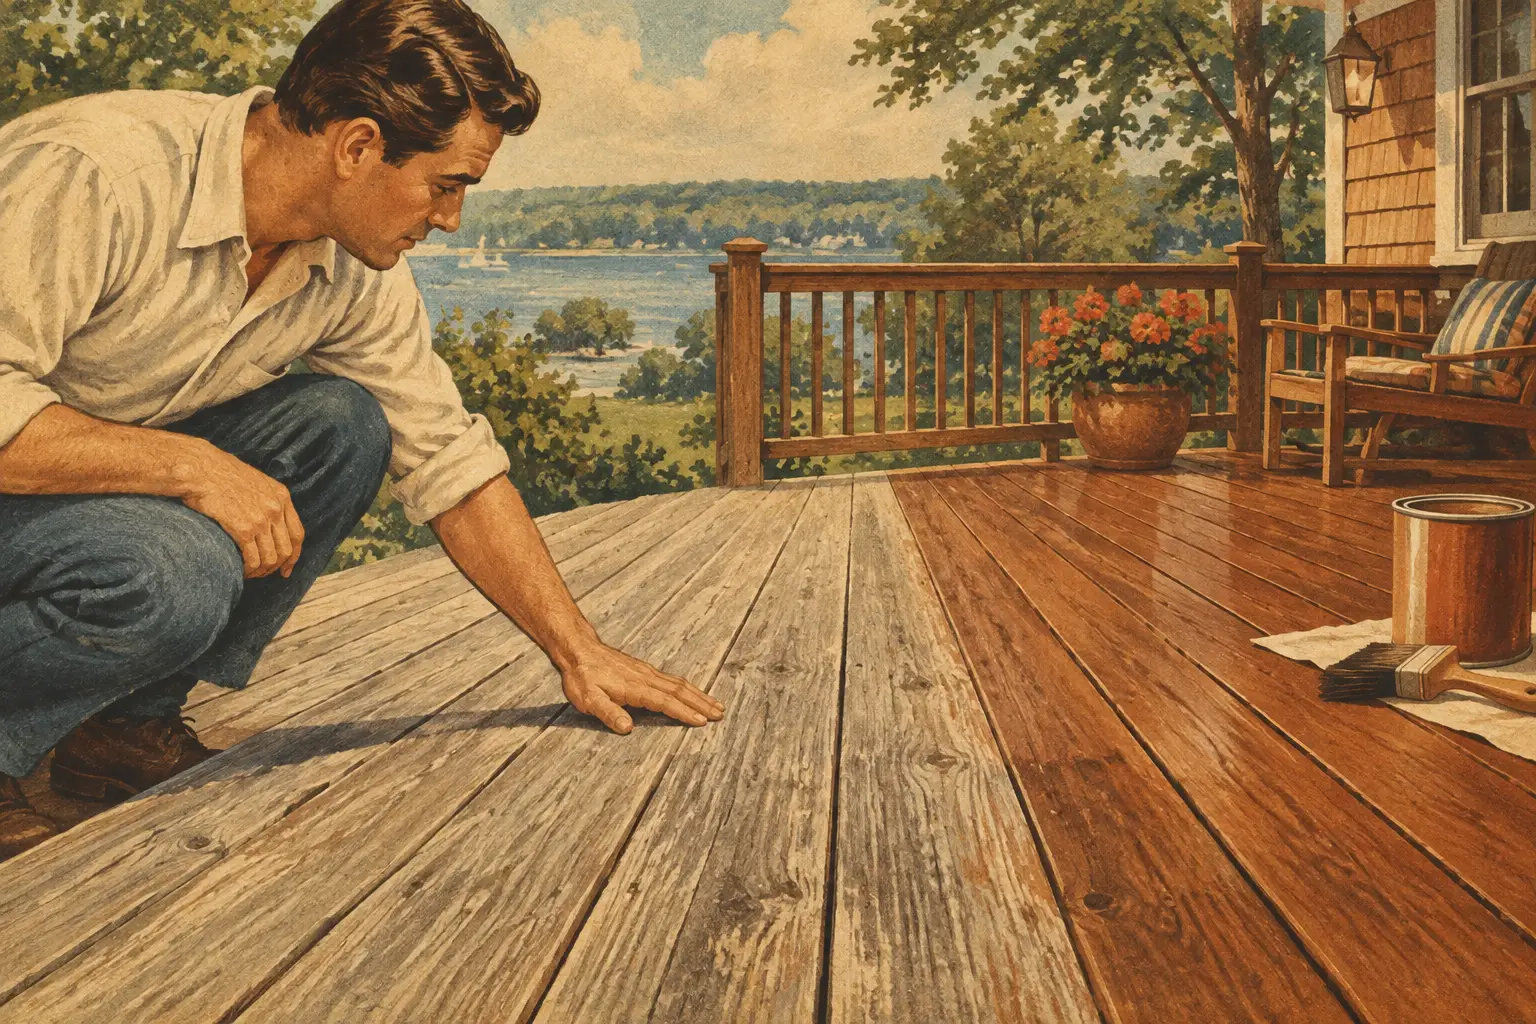
Why Deck Stain Fading Happens and What to Do
A deck can look tired long before the boards are worn out. In cottage country, deck stain fading often shows up first on the sunniest walking paths, near the lake-facing edge, and around railings where weather reaches every exposed surface. What looks like a simple color problem can also be an early warning that the wood is losing the protection it needs.
A faded deck does not always need to be stripped back to bare wood. But treating every faded surface the same way is how good decks end up with peeling coatings, uneven color, and avoidable repair costs. The right approach starts with identifying why the finish faded and whether the stain is still doing its job.
What deck stain fading is really telling you
Exterior stain is not only there for appearance. Depending on the product, it helps limit water absorption, slows UV damage, and gives the wood a more consistent finished look. Over time, sunlight breaks down pigments and binders in the coating. Rain, snow, foot traffic, furniture movement, leaf debris, and cleaning products add to the wear.
On Muskoka properties, decks face a particularly demanding cycle. Intense summer sun can fade horizontal boards quickly, while wet spring weather, shaded areas, and freeze-thaw conditions create repeated moisture stress. A deck at a seasonal cottage may also sit under debris and moisture for weeks between visits. The result is often an uneven finish: gray, dry-looking boards in one area and dark, moisture-affected boards in another.
Fading alone is not necessarily a failure. A penetrating semi-transparent stain may gradually lighten as it weathers, yet still be suitable for maintenance cleaning and recoating. A film-forming solid stain that is fading, cracking, or peeling is a different situation. That finish may be losing adhesion, which calls for more extensive preparation before any new product goes on.
The most common causes of deck stain fading
UV exposure breaks down pigment
Sunlight is usually the biggest reason a deck loses color. Clear and lightly pigmented stains allow more of the wood grain to show, but that visual benefit comes with a trade-off: less pigment generally means less UV resistance. South- and west-facing sections, open lakefront decks, stair treads, and the top of handrails commonly fade first.
A darker stain is not automatically more durable, either. Dark colors can absorb more heat, which may increase stress on wood and coatings. Product type, wood species, deck orientation, and surface preparation all matter as much as color selection.
Moisture changes the wood beneath the finish
Wood expands when it takes on moisture and contracts as it dries. That movement can gradually wear down a stain, especially if water is trapped by leaves, planters, outdoor rugs, or furniture that never gets moved. Poor drainage, boards installed too tightly, and splashback from eaves can keep certain areas wet long enough for the finish to fail prematurely.
Look closely for darkened wood, raised grain, cupping boards, soft spots, or mildew. These signs suggest the issue is more than faded color. Recoating without correcting the moisture source may improve the appearance briefly, but the same pattern will return.
Inadequate preparation shortens stain life
Even premium stain cannot compensate for an improperly prepared surface. New wood may contain mill glaze, a dense, slick surface left by manufacturing that prevents stain from penetrating evenly. Older decks may carry weathered fibers, dirt, sunscreen residue, tannins, mildew, or remnants of an incompatible previous coating.
Stain also needs dry, sound wood. Applying it after a quick rinse, during humid weather, or before the deck has reached an appropriate moisture level can leave the product sitting on the surface instead of bonding as intended. That can lead to patchy fading, flaking, and inconsistent absorption.
The original product may not suit the deck
Not all exterior stains serve the same purpose. Transparent and semi-transparent stains offer a natural wood appearance but usually need more frequent upkeep on exposed horizontal surfaces. Semi-solid and solid stains provide stronger color coverage and can help create a more uniform result on older boards, but they may obscure grain and require careful adhesion testing before recoating.
Problems often begin when a penetrating oil-based stain is coated with a water-based solid stain, or when a new finish is applied over old material that has not been properly cleaned, sanded, or removed. The best maintenance system is usually one that is compatible with what is already on the deck, unless a full restoration is planned.
How to assess a faded deck before you re-stain
Start with a practical inspection on a dry day. Sweep away debris and look at the deck in both direct sun and shade. The goal is to separate cosmetic fading from coating failure and wood deterioration.
Try the water-bead test in several areas. Sprinkle a small amount of water onto the boards. If it beads and sits on the surface, some water repellency remains. If it darkens the wood immediately, the deck is ready for attention. This is a useful clue, not a complete diagnosis. A deck can repel water in one section while failing in another.
Next, check whether the stain is intact or loose. If you can see faded but stable color with no peeling, a cleaning and maintenance coat may be appropriate. If the coating is cracking, lifting, or coming off in sheets, it needs to be removed or thoroughly sanded back to a stable surface first. Applying more stain over loose material only hides the failure for a short time.
Pay special attention to board ends, stair treads, the area below planters, and sections beneath downspouts. These are often the first places to show whether water management and maintenance are keeping up with the deck's exposure.
A professional process for restoring faded deck stain
A lasting result depends more on preparation than on the final coat. The exact process changes based on the existing stain and the condition of the wood, but it generally begins with protecting adjacent siding, landscaping, stonework, and outdoor furnishings.
The deck is then cleaned with an appropriate exterior cleaner to remove dirt, organic growth, and surface contaminants. In some cases, a wood brightener helps correct dullness or tannin staining and restores a more even base color. Pressure washing can be useful, but only when handled carefully. Excessive pressure can fur the wood fibers, scar soft grain, and create more sanding work.
Once the wood is fully dry, loose coating is removed and rough or weathered areas are sanded. This is the stage that determines whether new stain will absorb consistently. Open end grain, repairs, and replacement boards may need special attention because they can take stain differently from older wood.
The selected stain should suit the deck's exposure, the desired appearance, and the condition of the boards. It is then applied at the proper spread rate, avoiding heavy application that leaves shiny spots or sticky residue. Back-brushing or back-rolling helps work stain into the grain and prevents lap marks, particularly on broad deck boards and railings.
At Roll On Painting, deck and fence staining is approached as a protective finishing system, not a quick color refresh. Careful preparation, clean work areas, and product compatibility matter because a beautiful result should also hold up through the seasons.
How to make the next stain job last longer
No deck stain is permanent, especially on a heavily exposed horizontal surface. A maintenance mindset is more effective than waiting until the deck looks completely worn out. Light cleaning each spring and again as needed through the season removes the dirt and organic material that hold moisture against the boards.
Keep gaps between boards clear so water can drain. Move planters, rugs, and furniture periodically, especially after long wet periods. Trim back vegetation that keeps the deck shaded and damp, and make sure gutters and downspouts are not directing water onto the structure.
When a few high-traffic zones begin to lighten, address them early. A timely maintenance coat on sound wood is typically less disruptive and less expensive than a full stripping project. It also helps preserve the even, finished appearance that makes a deck feel like part of the property rather than an overlooked exterior surface.
The most useful next step is a close inspection before the next warm, dry finishing window. Catching fading while the wood is still sound gives you more finish options, a cleaner result, and a better chance of protecting the deck for the seasons ahead.