
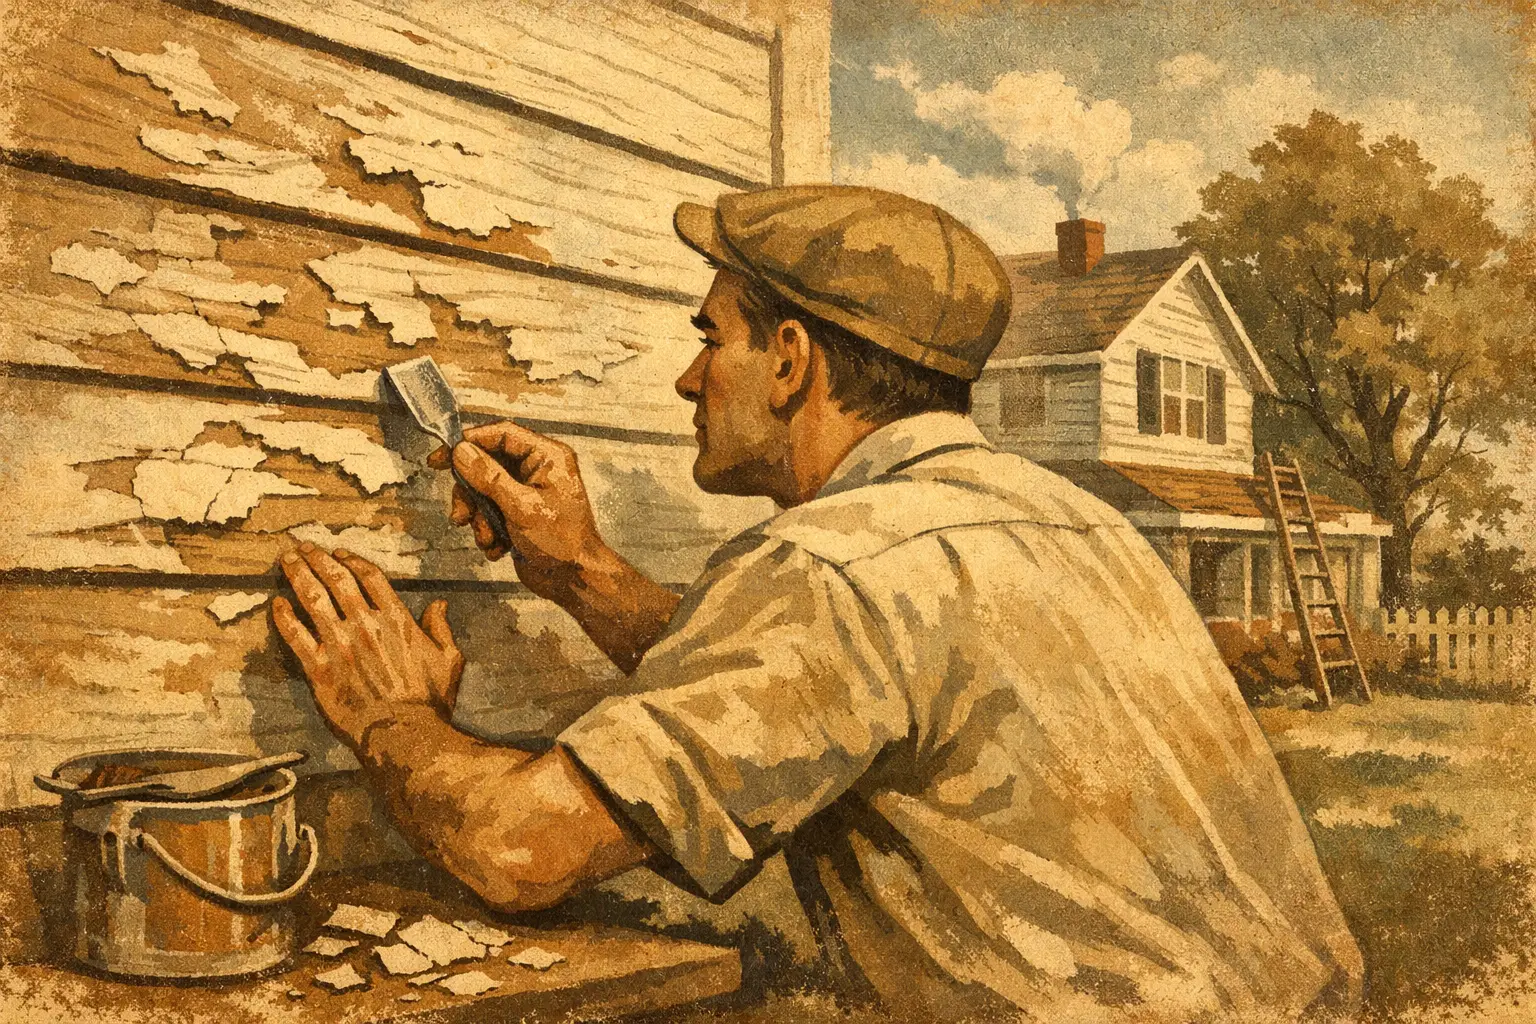
What Causes Peeling Exterior Paint on Homes?
Paint rarely peels without giving a property owner a warning. A few lifted edges on a window trim board, bubbling around a porch column, or bare wood appearing on sun-facing siding can signal a larger coating failure underneath. If you are asking what causes peeling exterior paint, the answer is usually not simply that the paint is old. In Muskoka, where cottages and homes face long winters, lake humidity, heavy rain, strong summer sun, and seasonal freeze-thaw cycles, peeling is often a combination of moisture, surface condition, and an incompatible or poorly applied coating system.
A fresh coat can make peeling look temporarily better, but it will not solve the reason the old paint let go. Lasting exterior painting begins with identifying the failure, correcting it, and preparing the surface carefully before new paint goes on.
What Causes Peeling Exterior Paint?
Exterior paint is designed to bond to a stable, clean, dry surface. When one of those conditions is missing, the paint film can lose adhesion. The visible peeling is the symptom. The real cause may be water moving through the wall, weathered wood fibers, failing caulk, excessive moisture during application, or layers of old paint that no longer hold together.
The pattern of the failure offers useful clues. Paint that peels to bare wood often points to a bonding or moisture issue. Paint that separates between layers may indicate incompatible coatings or poor preparation before repainting. Blistering after a hot, sunny day can be related to moisture vapor or heat trapped beneath the finish.
Moisture behind the paint film
Moisture is the most common cause of serious exterior paint failure. Water can enter through open joints, failed caulking, roof leaks, overflowing gutters, unsealed end grain, loose flashing, or cracks around windows and doors. On cottages, moisture may also be driven by lake exposure, shaded areas that stay damp, and periods when the building is closed up with limited ventilation.
Once water gets behind paint, it can soften the bond between the coating and the substrate. In cold weather, trapped moisture can freeze and expand, pushing paint away from the wood or masonry. The paint may first bubble, then crack and peel as conditions change.
Repainting over a moisture problem is a short-lived repair. The source must be addressed first, whether that means repairing a leak, improving drainage, replacing damaged trim, sealing vulnerable joints, or allowing wet materials enough time to dry.
Inadequate preparation
Premium paint cannot compensate for loose paint, chalky residue, mildew, dirt, or deteriorated wood. If a new coating is applied over an unstable layer, it will only adhere as well as the layer beneath it. When that old layer releases, the new one comes with it.
Preparation is where many exterior paint jobs succeed or fail. Sound surfaces need thorough cleaning, controlled removal of loose paint, sanding or feathering of rough edges, and spot priming where bare material is exposed. Areas with mildew or organic growth need appropriate treatment, not just a quick rinse. Glossy surfaces may require sanding or a bonding primer so the next coat has something reliable to grip.
Pressure washing can be helpful when done correctly, but it is not automatically the right answer for every surface. Excessive pressure can scar wood, force water behind siding, and leave the substrate too wet to paint. A professional assessment considers the surface, its condition, and the drying time required before coating.
Painting on damp wood or in poor weather
Exterior work has a weather window. Wood that feels dry on the surface may still hold too much moisture for paint to bond properly, especially after rain, washing, or humid weather. Painting too soon can trap that moisture under the finish. The result may not appear immediately, but blistering and peeling can develop as the moisture tries to escape.
Temperature matters as well. Most coatings have manufacturer-specified application ranges, and those ranges include both daytime and overnight temperatures. Paint applied when temperatures are too low may not cure correctly. Paint applied in intense direct sun can dry too quickly at the surface, reducing working time and affecting adhesion. Dew, fog, rain, and rapid temperature drops can all interfere with a sound finish.
Muskoka’s shoulder seasons require particular care. A bright afternoon can look ideal, while a cold evening, overnight dew, or damp shaded elevation creates conditions that are not. Reliable scheduling means watching the forecast and being willing to pause rather than rush a coating onto a vulnerable surface.
Failing caulk, gaps, and exposed end grain
Paint helps protect exterior materials, but it is not a substitute for proper sealing and maintenance. Water finds its way into small openings around trim, window casings, fascia boards, railings, and siding joints. Horizontal ledges and the cut ends of wood boards are especially susceptible because they collect water.
Caulk also has a service life. It can shrink, crack, lose flexibility, or pull away from one side of a joint. When it fails, water can move behind painted trim and cause the paint to peel from the inside out. The same is true when bare end grain is left unprimed or when a replacement board is installed without sealing every exposed face.
A thorough exterior painting project includes inspection of these details. Some gaps need flexible exterior sealant. Some damaged boards need replacement. Some areas need primer before caulking, while others need caulk before final coats. The right sequence depends on the material and the condition of the assembly.
Sun exposure and weathered substrates
South- and west-facing walls take the hardest exposure from ultraviolet light and summer heat. Over time, sunlight breaks down the paint binder, causing fading and chalking. The surface can become powdery, leaving new paint with little to bond to unless the chalking is properly cleaned and primed.
Wood siding and trim can also weather beneath a failed finish. As wood fibers break down, they become soft or fuzzy and no longer provide a stable base for paint. Simply coating over weathered fibers may create a neat appearance for a season, but the bond remains weak. Proper preparation may require sanding back to sound material, applying a suitable primer, and replacing boards that have begun to rot.
Too many old paint layers or incompatible products
Historic homes and older cottages may have decades of paint layers. Each repaint can add stress to the system, especially if earlier coats were thick, brittle, or poorly bonded. Eventually, a thick paint film loses flexibility, and the accumulated stress against a substrate that keeps expanding and contracting with moisture and temperature can contribute to cracking and peeling.
Compatibility matters, too. Oil-based and latex coatings can often be used in the same system when the surface is properly prepared, but skipping the necessary bonding steps can lead to failure. Certain specialty coatings, factory finishes, stains, and previous sealers may require specific primers or removal before repainting. This is why a small test area and an informed product selection can prevent a much larger repair later.
How to Tell Whether Peeling Paint Needs Professional Repair
A small area of isolated peeling on a protected surface may be manageable if the cause is obvious and corrected. For example, a minor scrape can be sanded, spot primed, and repainted once the surrounding paint is confirmed sound. Broad peeling, recurring bubbles, soft wood, staining, or failure around windows and rooflines deserves closer investigation.
Be especially cautious when peeling appears on older properties. Paint in buildings finished before about 1980 should be assumed to contain lead. Have it tested before scraping or sanding, and avoid dry sanding, power sanding or heat stripping; if lead is present the work needs wet methods, containment and HEPA cleanup, or a contractor equipped for it. Widespread scraping can also expose underlying problems that are not visible from the ground. Professional painters can assess adhesion, moisture exposure, substrate damage, and the correct preparation method before committing to a repaint.
At Roll On Painting, exterior projects are approached as protective maintenance, not a quick color change. That means preparing surfaces to a high standard, using suitable coating systems, and keeping the work area clean and controlled. For homeowners and cottage owners, that approach reduces the risk of paying twice for the same wall, trim board, or deck structure.
Preventing Peeling Before It Starts
The best defense is routine observation. Walk the property in spring and fall, looking closely at window trim, fascia, railings, deck edges, and siding near gutters or landscaping. Keep gutters clear, direct water away from the building, trim back vegetation that holds moisture against surfaces, and repair failed caulk before water can travel behind the paint.
When repainting is due, choose preparation and timing over speed. A properly cleaned, dry, repaired, primed, and professionally coated exterior will hold its finish far longer than a rushed coat applied over a failing surface. Your home or cottage deserves a finish that does more than look polished from the driveway - it should continue protecting the materials beneath it through the next Muskoka season.