
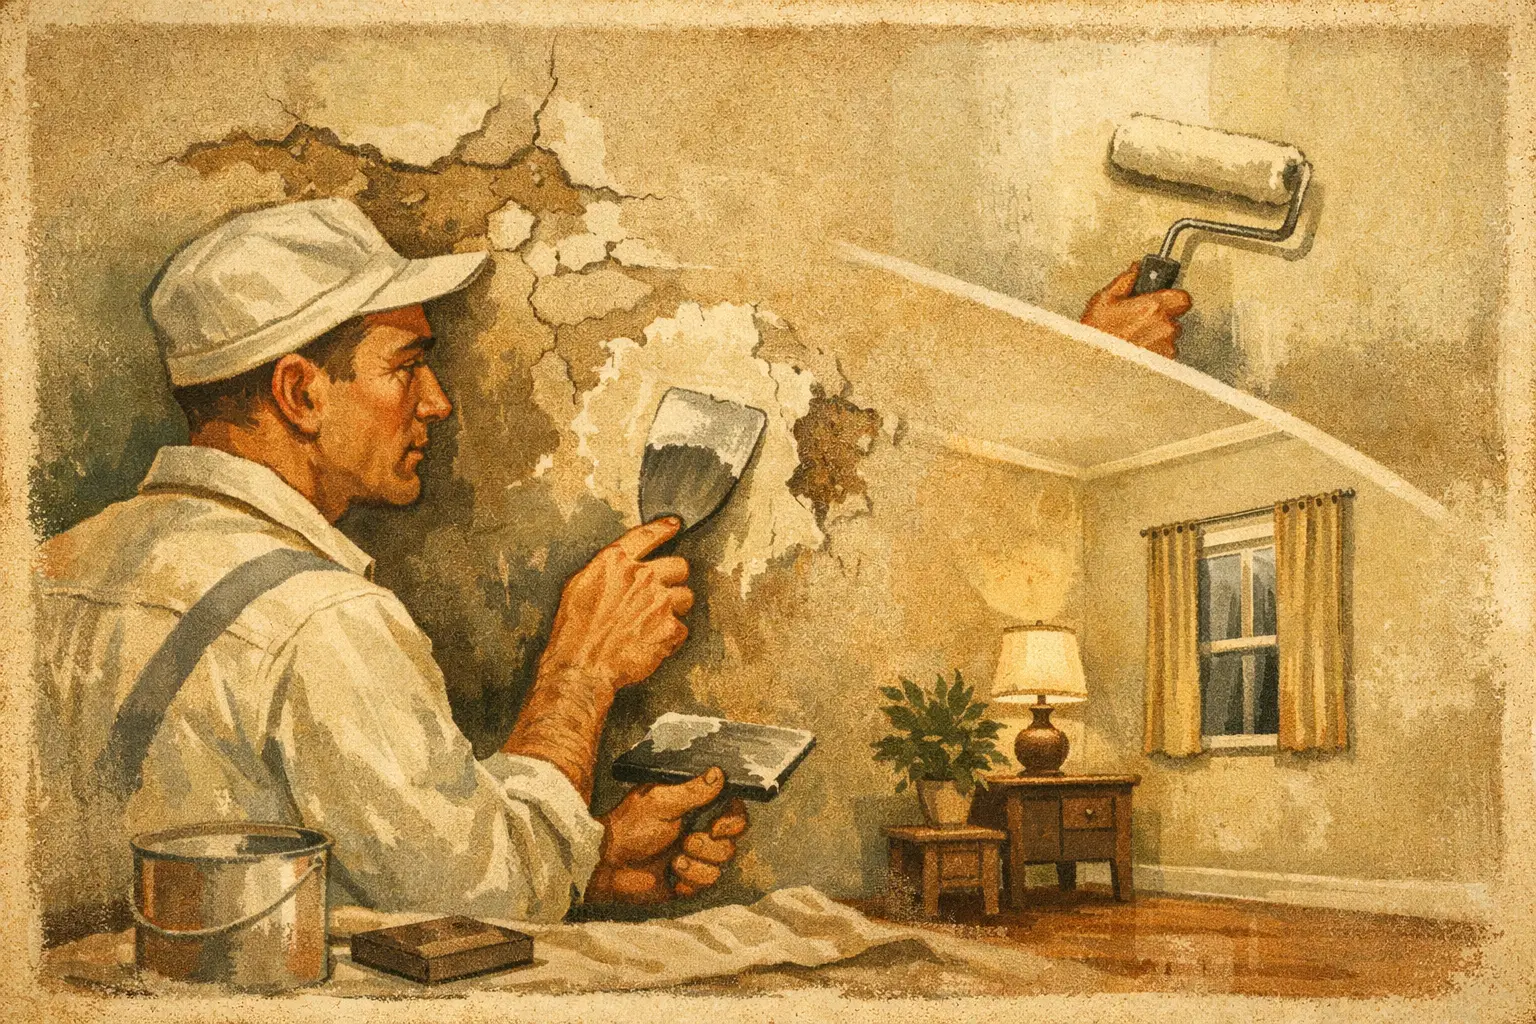
Painter Drywall Repairs That Make Walls Look New
A freshly painted room can still look unfinished when a repair line catches the afternoon light from a Muskoka window. Painter drywall repairs are what separate a quick cover-up from a wall that looks whole again. Before color goes on, the damaged area has to be stabilized, rebuilt, blended, and inspected under the same light the room lives in every day.
For homeowners, cottage owners, and property managers, this work matters because drywall damage rarely appears in isolation. A popped fastener, dented corner, ceiling stain, or long crack may point to normal seasonal movement, an old repair, furniture impact, moisture, or a more serious issue that should be addressed before painting begins. The right repair protects the appearance of the finish and helps prevent the same problem from returning through a new coat of paint.
Why Painter Drywall Repairs Need More Than Spackle
Small nail holes are one thing. Larger holes, loose tape, recurring cracks, water damage, and uneven previous patching are another. Simply filling these areas with compound and applying paint too soon can leave a visible depression, raised edge, flashing, or texture mismatch. In a room with flat daylight, recessed lighting, or a higher-sheen finish, those imperfections become even more noticeable.
Professional repair starts with determining whether the surface is sound. Loose drywall paper, crumbling compound, damaged corner bead, and failed tape need to be removed or secured before a new patch is applied. Covering an unstable area may look acceptable briefly, but it is not a lasting repair.
The size and location of the damage also determine the method. A shallow dent may need only a carefully feathered skim coat. A hole may require backing material, a fitted drywall patch, joint tape, and several coats of compound. A damaged outside corner may require new corner bead. Each repair needs sufficient drying time between coats, followed by controlled sanding to create a smooth transition into the surrounding wall.
The Problems Homeowners Notice Most
Drywall defects tend to show up where a room receives the most attention: near entryways, above staircases, along hallways, beside windows, and across open living-room ceilings. At cottages, moving furniture, seasonal use, humidity changes, and work completed by different trades over time can leave walls with a patchwork of old repairs.
Cracks at door and window corners are common. Some are minor signs of normal settling or seasonal movement, particularly in properties that experience significant temperature changes. Others can recur because the original repair was too rigid, the tape was not properly embedded, or movement remains active. A qualified painting contractor can repair the visible surface, but should also be candid when a crack suggests an underlying issue that deserves further evaluation.
Water stains require the same careful approach. The source of moisture must be fixed and the area fully dried before repair work starts. Once the damaged material is stabilized or replaced, a stain-blocking primer is often necessary before the finish paint is applied. Without it, discoloration can bleed back through even a newly painted ceiling.
Texture creates another challenge. Smooth walls demand careful feathering because every edge can show. Popcorn, stipple, and other textured surfaces require a repair approach that recreates the surrounding pattern as closely as possible. There is a trade-off: a localized texture repair is efficient, but broad ceiling areas sometimes need more extensive refinishing to achieve the most consistent appearance. Popcorn, stipple, and other textured ceilings installed before about 1990 should be tested before any repair disturbs them, since a positive result for asbestos means the area needs licensed abatement rather than ordinary patching.
A Proper Repair Process Before Painting
High-quality drywall work is a sequence, not a single patch-and-paint visit. The goal is to make the repair disappear once the final coating system is dry.
Inspect the cause, not just the mark
The first step is assessing the condition of the wall or ceiling. This includes checking for moisture, loose material, active cracking, damaged framing around an opening, and prior repairs that have failed. If there is any concern about a leak, mould, or structural movement, it should be handled before cosmetic work proceeds.
Prepare and protect the space
Drywall sanding produces fine dust, so professional containment and cleanup matter. Floors, furniture, fixtures, and nearby surfaces should be protected before repair materials are applied. A tidy work area is especially valuable in furnished homes, occupied commercial spaces, and cottages where owners want work completed with minimal disruption. Sanding crews should also wear eye protection and a properly fitted respirator suited to fine dust, and use a HEPA-filtered vacuum rather than a standard shop vacuum, which pushes the finest particles straight back into the air.
Rebuild the damaged area in thin layers
Durable repairs use the right materials for the defect. Tape reinforces joints and cracks. Patch material supports openings. Setting-type compounds can provide strength where needed, while finishing compounds help create a smooth final surface. Rather than applying one thick layer that can shrink or crack, a skilled painter builds and feathers several thinner coats beyond the repair area.
Sand, prime, and inspect in real light
Sanding is where repair quality becomes visible. The surface should feel smooth and transition naturally into the existing wall. Then the repaired area needs the appropriate primer, particularly over bare drywall paper, new compound, stains, or drastic color changes. Primer creates a uniform surface so the finish coat absorbs evenly and looks consistent.
A final inspection under side lighting helps reveal ridges, pinholes, and uneven areas before paint is applied. This extra step is especially important for ceilings and walls finished in satin, semi-gloss, or other higher-sheen paints. Flat paint is more forgiving, but it cannot correct poor substrate preparation.
When a Painter Is the Right Professional
Many drywall repairs naturally belong within a painting project. If walls are being refreshed after a renovation, tenant turnover, furniture damage, wallpaper removal, or ceiling updates, coordinating repairs and painting with one accountable contractor helps keep the finish consistent. The painter can match the repair method, primer, sheen, and application technique to the final result.
A painter is particularly well suited for cosmetic repairs such as dents, nail pops, small and moderate holes, failed tape, minor cracks, damaged corners, surface gouges, and water-stain restoration after the leak has been resolved. This is also the practical choice when an entire room or floor is being repainted, since localized repairs often become visible when the surrounding walls are not refreshed.
However, there are times to pause before painting. Persistent moisture, soft drywall, widespread staining, major recurring cracks, or evidence of building movement may call for a plumber, roofer, restoration specialist, or qualified building professional first. Quality-focused contractors do not hide these issues beneath paint. They help property owners make the right repair decision before investing in the finish.
Why Finish Matching Is Harder Than It Looks
Even a well-repaired wall can stand out if the paint is not matched correctly. Color is only one part of the equation. Sheen, product type, application method, wall age, sun exposure, and the direction of the original paint all affect the final appearance.
Touching up a small area can work when the original paint is known, stored properly, and the wall has not faded or been heavily cleaned. In many cases, especially on broad walls with natural light, repainting the full wall from corner to corner provides a cleaner result. It removes the risk of a visible touch-up box and delivers consistent sheen across the surface.
This is one reason premium painting companies place such emphasis on preparation. The finish coat is only as polished as the wall beneath it. A carefully repaired and primed surface allows paint to level evenly, reflect light consistently, and hold up better to routine cleaning.
What to Expect From a Professional Painting Contractor
Clear scope matters. A dependable contractor should explain which repairs are included, whether a crack or stain needs further investigation, how extensive prep will be, and whether full-wall repainting is recommended for a uniform finish. Transparent quoting prevents a small repair allowance from becoming an unexpected scope dispute after work begins.
Homeowners should also look for appropriate insurance, WSIB coverage, clean-site practices, and a record of experience with occupied homes and cottages. In Muskoka, schedules may need to work around seasonal access, property managers, builders, and short windows between guest stays. Reliable communication is part of protecting the property, not an extra.
With more than 25 years of experience, Roll On Painting approaches wall and ceiling repairs as a foundation for the finished surface, not a shortcut between coats. That preparation-first mindset supports cleaner interiors, more dependable results, and the polished presentation that high-value homes and cottages deserve.
The next time a wall shows a crack, stain, or old patch, look at it before choosing the paint color. A careful repair can make the new finish feel intentional, preserve the value of the space, and let the room look its best in every changing season.