Bathroom Paint Humidity and Lasting Wall Protection
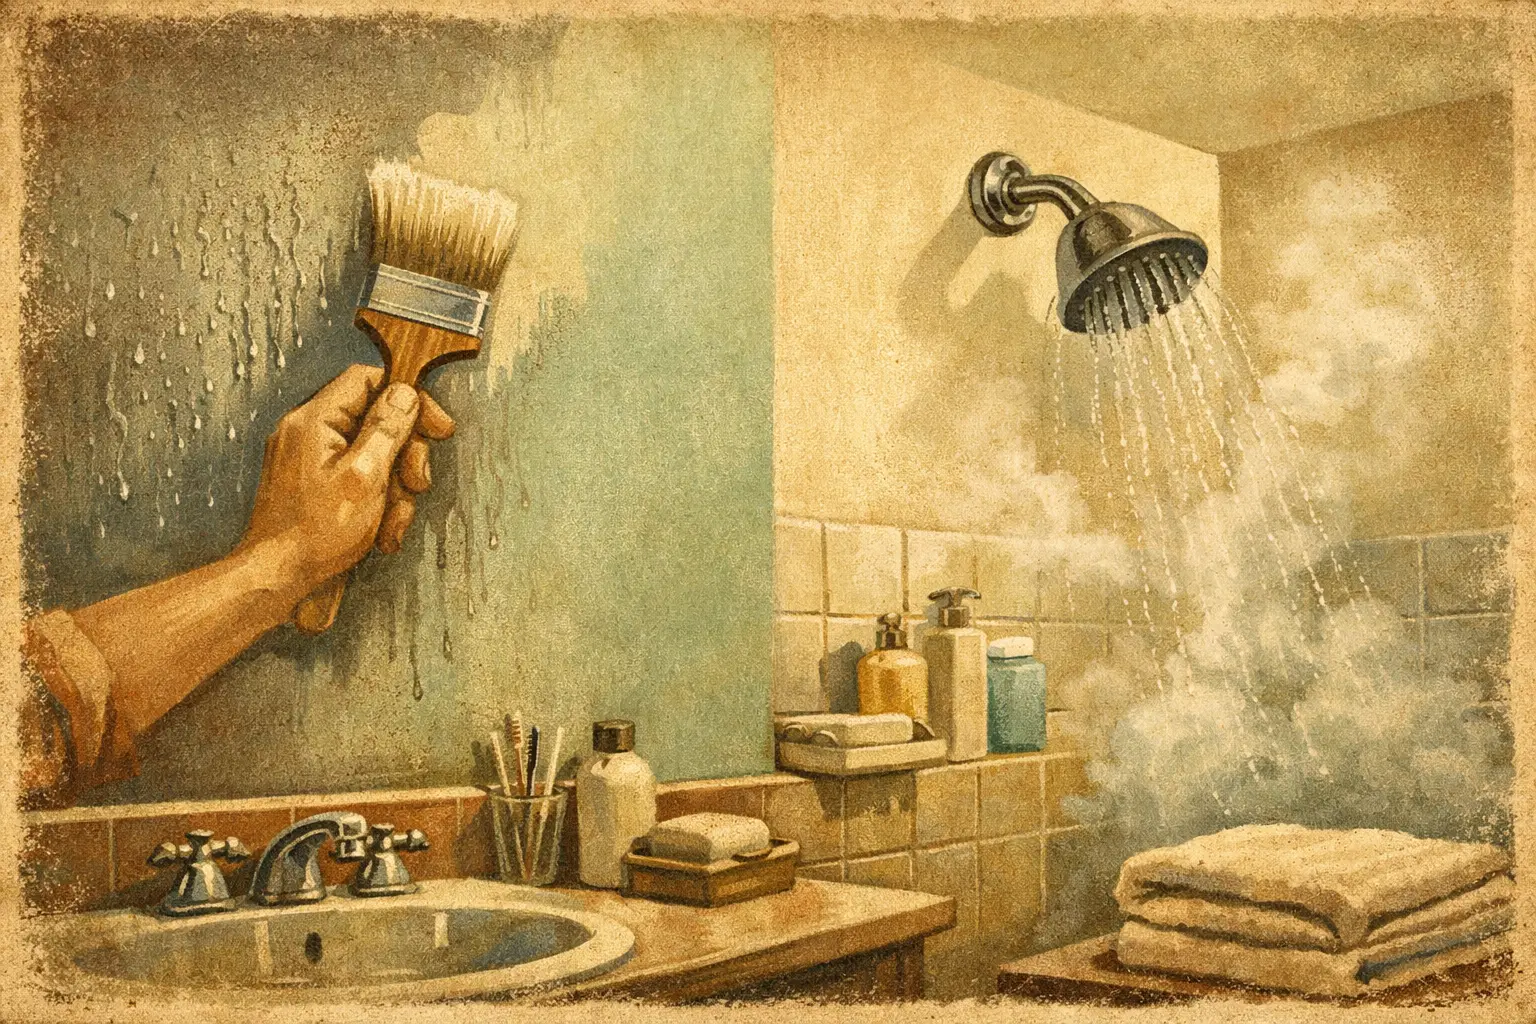
A bathroom can look freshly painted on Friday and show peeling corners, dull patches, or mildew spots within a season. Bathroom paint humidity is usually the reason. Steam from showers settles on ceilings, walls, trim, and even the paint film itself. If moisture cannot leave the room quickly, it finds weak points in the coating system and exposes shortcuts in preparation.
For Muskoka homes and cottages, the issue can be more pronounced. A busy family bathroom may see repeated hot showers every day, while a seasonal property can sit closed up through changing temperatures and then receive heavy use on weekends. A durable finish depends on more than selecting a paint labeled for bathrooms. It requires dry, sound surfaces, the right primer and coating, and ventilation that performs when the room is in use.
Why Bathroom Paint Humidity Causes Failure
Paint is designed to form a protective film as it dries and cures. In a humid bathroom, that film has to withstand repeated moisture exposure without softening, swelling, or losing its grip on the surface below. When it cannot, the first signs are often subtle: persistent condensation, a yellowed ceiling near the shower, or a slightly tacky feel on trim.
Peeling occurs when water vapor gets behind the paint or when paint was applied to a surface that was not fully dry. Blistering can follow, especially around shower enclosures, exterior-facing walls, windows, and poorly insulated areas. Mildew is another concern. It does not always mean the paint is poor quality, but it does indicate that moisture is remaining on the surface long enough to support growth.
Ceilings take the hardest hit because warm steam rises and condenses there first. In bathrooms with textured ceilings, popcorn texture, or older patched drywall, the irregular surface can hold moisture and make cleaning more difficult. Window trim, baseboards, and cabinet ends are also vulnerable, particularly where condensation or splashing repeatedly reaches joints and seams.
Humidity is not the only cause of paint failure. A plumbing leak, failed shower caulking, missing grout, roof leak, or exterior water intrusion can produce the same symptoms. Before repainting, identify whether the problem is surface humidity or an active water issue. Paint can protect a properly prepared surface, but it cannot correct moisture moving through the wall.
Bathroom Paint Humidity Is a Ventilation Problem Too
A high-quality coating needs a reasonably controlled environment, both while it is applied and after it has cured. The exhaust fan is the bathroom's first line of defense, but many fans are undersized, vent into an attic instead of outdoors, or simply are not used long enough.
A practical test is to check the mirror and walls after a shower. If condensation remains for 20 minutes or more, the room is holding too much moisture. The fan should run during bathing and continue afterward until the air clears. A timer switch or humidity-sensing control removes the guesswork, particularly in guest bathrooms and cottages where not everyone will remember to leave the fan on.
Opening a window can help during mild weather, but it is not a dependable replacement for mechanical ventilation. During Muskoka winters, opening a window after a hot shower may create cold-surface condensation elsewhere in the room. The better approach is a properly sized fan ducted outdoors, paired with adequate heating and airflow.
Ventilation also affects the painting schedule. A bathroom should not be painted immediately after several steamy showers, even when the walls feel dry. The substrate may still contain moisture. Professional painters assess the condition of drywall, trim, ceilings, and previously painted surfaces before beginning prep, then allow primers and finish coats the time they need to dry and cure.
Choosing Paint That Holds Up in a Bathroom
The right bathroom paint is washable, moisture resistant, and formulated to resist mildew on the paint film. Premium interior acrylic paints are generally the most reliable choice for walls and ceilings because they offer strong adhesion, flexibility, and cleanability. The exact product should match the substrate and the room's use.
Sheen matters, but it is not the whole answer. Satin is a common choice for bathroom walls because it is easier to wipe clean than flat paint while still giving a refined appearance. Semi-gloss offers greater moisture resistance and is often well suited to trim, doors, and high-splash areas. On ceilings, a quality bathroom-rated matte or low-sheen finish can look more polished than a shiny coating while still providing the needed protection.
Higher sheen can reveal drywall imperfections, roller marks, and poorly repaired patches. That trade-off is especially noticeable with side lighting from a vanity fixture or window. If a ceiling or wall has visible texture, old water staining, or extensive repairs, careful surface preparation may be more valuable than simply moving to a glossier paint.
Avoid treating a mildew-resistant paint as a cure for poor airflow. These coatings help prevent surface mildew under normal conditions, but constant condensation will eventually overwhelm any finish. Paint selection and ventilation need to work as one system.
Primer Is Not Optional When the Surface Calls for It
Primer is essential over bare drywall repairs, water stains, smoke staining, patched areas, glossy surfaces that have been properly sanded, and major color changes. In bathrooms, a stain-blocking primer may be needed if prior moisture has left yellow or brown marks on the ceiling. The source of the stain must be corrected first, or it will return.
Previously painted walls in good condition may not require full priming, but they still need proper cleaning and deglossing where necessary. Soap residue, hairspray, body oils, and aerosol products can interfere with adhesion. A wall that appears clean can still have a film on it that prevents paint from bonding correctly.
Preparation That Protects the Finish
Long-lasting bathroom painting begins with a close inspection, not a roller. Loose paint must be scraped, failing drywall paper stabilized, and cracks opened and repaired with the appropriate compound. Any soft drywall, swollen trim, or deteriorated caulking should be addressed before paint enters the room.
Mildew requires more than painting over a dark spot. The affected area should be cleaned using an appropriate mildew-removal method, allowed to dry completely, and checked for the moisture source. Protective gear and proper containment are particularly important if there is extensive growth or concern that water has entered the wall cavity. In that situation, a painting contractor may recommend further investigation before cosmetic repairs begin.
Caulking is another small detail with an outsized effect. Gaps at trim, baseboards, and wall transitions allow moisture and dirt to collect, making a finished bathroom look tired early. Caulk should be used where movement is limited and where it is appropriate for the joint. It should not be used to conceal failed tile grout, damaged shower surrounds, or active leaks.
For occupied homes and cottages, clean work practices matter as much as the finished color. Bathroom projects involve sanding dust, fixtures, mirrors, flooring, and tight spaces. Careful masking, floor protection, dust control, and orderly cleanup protect the rest of the property while creating the conditions for a smooth finish.
When Repainting Alone Is Not Enough
If the same ceiling area peels repeatedly, the answer may be outside the paint can. Look for a weak exhaust fan, insulation gaps above the bathroom, an unvented fan duct, or a shower that sends steam into a small enclosed room. In older cottages, seasonal temperature swings and limited winter heating can add another layer of moisture stress.
It is also worth checking the distinction between condensation and leakage. Condensation tends to appear broadly on cold surfaces after bathing. A leak is more likely to create a localized stain, soft spot, or recurring ring that persists regardless of shower use. A professional should never simply repaint over unexplained staining without first determining why it happened.
In a bathroom renovation, the best time to prevent future finish failure is before fixtures and trim are installed. Properly primed drywall, sealed trim joints, durable coatings, and ventilation planning create a finish that can handle real daily use. Builders and property owners also benefit from scheduling paint after wet trades have completed their work and the space has had adequate time to dry.
A well-painted bathroom should still look clean after the steam clears. For high-value homes and cottages, that standard is worth protecting with the same careful preparation, premium coatings, and accountable workmanship used throughout the property. When moisture damage or recurring peeling is involved, Roll On Painting can help assess the surface conditions before a new finish is applied.