
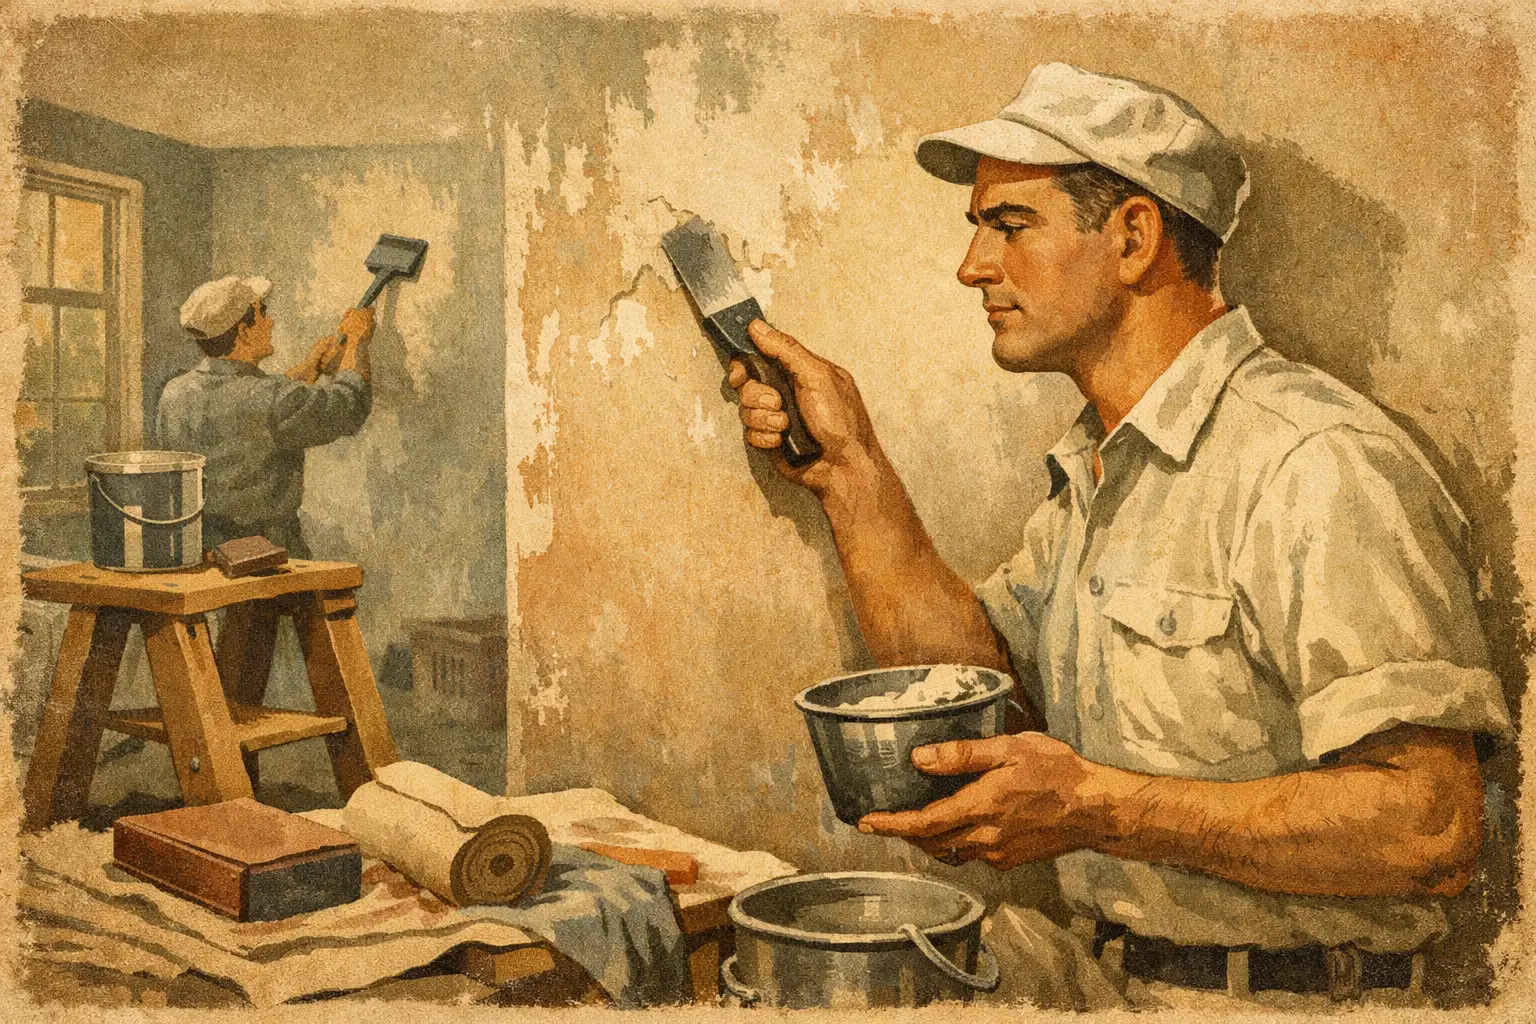
How to Prepare Walls for a Professional Paint Job
A freshly painted room can look exceptional on day one and still fail months later if the surface underneath was rushed. For Muskoka homes and cottages, where seasonal humidity, wood heat, waterfront moisture, and everyday wear can all affect interior finishes, knowing how to prepare walls is the difference between a quick cosmetic update and a finish that holds up.
Paint is only as dependable as the surface it is applied to. Proper wall preparation removes the conditions that cause peeling, flashing, visible repairs, and uneven sheen. It also gives the painter a clear view of what the wall actually needs - not just what can be covered with another coat.
Start With a Close Inspection
Before moving furniture or opening a can of paint, inspect every wall in good light. Natural side light from windows is especially useful because it exposes dents, ridges, roller marks, nail pops, and previous patchwork that overhead lighting can hide.
Look for cracks at drywall seams, around door frames, and above windows. Fine hairline cracks may be cosmetic, particularly in a cottage that experiences seasonal movement. Wider cracks, recurring seam failures, soft drywall, or staining may point to moisture, settling, or a larger repair issue that should be addressed before painting.
Pay attention to the existing paint, too. If it is peeling, bubbling, chalky, or separating from the wall, new paint will not solve the problem by itself. Those areas need to be scraped back to sound material and repaired correctly. A wall that appears flat can still have loose coating beneath the surface.
Protect the Room Before You Prepare the Walls
Preparation is dusty, and repair products can splatter. Remove artwork, window treatments, outlet covers, and movable furnishings where possible. Larger pieces should be moved away from the work area and protected with clean plastic or drop cloths.
Floors deserve the same level of care as walls. Canvas drop cloths provide reliable protection and stay in place better than lightweight plastic. Plastic can still be useful over carpets or furnishings, but it should not create a slipping hazard in active work areas.
A clean, organized job site also makes it easier to spot repairs and maintain consistent workmanship. In high-value homes, cottages, and commercial spaces, protecting finished floors, millwork, and built-in cabinetry is not an extra step. It is part of doing the work properly.
Clean the Surface, Even When It Looks Clean
Walls collect more than visible dirt. Kitchens accumulate cooking residue, entryways collect hand oils, bathrooms hold moisture-related film, and areas around fireplaces can carry soot. Paint applied over contamination may struggle to bond, even when the wall looks acceptable from a few feet away.
For most painted walls, a mild cleaner and clean water are sufficient. Use a non-abrasive sponge or microfiber cloth, working from the bottom upward to avoid drip marks. Rinse as needed, then allow the walls to dry completely before sanding or priming.
Grease-heavy areas need more attention. A degreasing cleaner may be necessary near ranges, bar areas, or frequently used kitchen walls. Do not leave cleaner residue behind, as residue can affect adhesion just as much as the grease itself.
Mildew should never simply be painted over. Clean and treat the affected area, identify the source of excess moisture, and make sure the wall is fully dry. If a bathroom has poor ventilation or a cottage has a recurring condensation issue, the long-term solution may involve ventilation or insulation work as well as repainting.
Repair Damage With the Right Material
Not every hole or crack calls for the same repair. Small nail holes can be filled with lightweight spackle. Larger dents, torn drywall paper, and deeper holes need a more durable patching compound, often applied in thin layers so it can dry and cure properly.
Drywall cracks require a little more judgment. A stable hairline crack can sometimes be filled and sanded. A crack along a seam is more likely to return if it is simply covered with compound. When tape has lifted or movement is ongoing, the loose material should be removed, the seam retaped where needed, and the repair feathered out over a wider area.
Water stains are another common concern in cottages and homes with aging roofs, plumbing, or window seals. First, confirm that the leak has been corrected. Once the substrate is dry and sound, stain-blocking primer is usually needed before finish paint. Otherwise, brown or yellow discoloration can migrate through the new coating.
Texture matters as much as strength. A repair may be solid but still show through paint if its edges are abrupt. Skilled patching feathers compound gradually beyond the damaged area, helping the repair disappear when light moves across the wall.
Check for Glossy or Unstable Paint
Glossy trim-style paint, slick bathroom coatings, and old oil-based finishes may need additional preparation. Paint in buildings finished before about 1980 should be assumed to contain lead. Have it tested before scraping or sanding, and avoid dry sanding, power sanding or heat stripping; if lead is present the work needs wet methods, containment and HEPA cleanup, or a contractor equipped for it. Where lead is not a concern, light sanding can create the profile needed for a new coating to grip, while a suitable bonding primer can provide added security where adhesion is uncertain.
If the existing finish is failing extensively, spot repairs may not be enough. It can be more efficient and more durable to remove loose material across the affected wall, stabilize the surface with primer, and then repaint. The right approach depends on the condition of the wall, not on the fastest possible route to color.
Sand for Smoothness, Not Just for Appearance
Sanding is where careful prep becomes visible in the finished room. It levels patches, softens rough edges, removes small paint ridges, and creates a consistent surface for primer and paint.
Use a fine-grit sanding sponge or pole sander for general wall preparation, and wear eye protection and a properly fitted dust mask or respirator whenever sanding. Sand patched areas until the transition from repair to wall feels smooth under your hand, not just looks smooth from the front. Run your palm over the surface and inspect it from an angle with a work light. Your eyes can miss a ridge that your hand will find immediately.
Avoid oversanding drywall paper or cutting deep grooves into soft joint compound. If that happens, apply another light skim of compound, let it dry, and sand again. Rushing this stage often creates flashing - dull or shiny patches that show through a fresh coat because the repaired area absorbs paint differently than the surrounding wall.
After sanding, remove all dust. Vacuum walls and baseboards with a HEPA-filtered vacuum and a soft brush attachment rather than a standard shop vacuum, then wipe surfaces with a clean microfiber cloth if necessary. Dust left on the wall can interfere with adhesion and leave a gritty texture in the final coat.
Prime the Repairs and Problem Areas
Primer is not automatically required on every previously painted wall, but it is essential in several situations. New drywall, bare joint compound, water-stained areas, repaired sections, major color changes, and surfaces with adhesion concerns all benefit from the right primer.
Spot-priming patches helps equalize porosity so repairs do not flash through the finish paint. A full prime coat is often the better choice when walls have extensive repairs, smoke staining, heavy color variation, or mixed surface conditions.
Choose primer based on the problem being solved. A stain-blocking primer is designed for water marks, tannins, smoke, and other discoloration. A bonding primer helps on glossy or difficult surfaces. High-build primers can help reduce the appearance of minor texture inconsistencies, though they cannot replace proper patching and sanding.
Allow primer to dry according to the product instructions before applying paint. Cool temperatures and high humidity can extend drying time, which is especially relevant in shoulder-season cottage work. Dry to the touch is not always ready for recoating.
How to Prepare Walls for a Premium Finish
The final check should happen before the first finish coat goes on. Walk the room slowly, inspect from multiple angles, and look closely around windows, doors, outlets, and baseboards. These are the places where rushed cutting, incomplete caulking, and missed repairs tend to stand out.
Caulk small gaps where trim meets the wall, but use a paintable acrylic caulk and apply it sparingly. Caulk is for narrow, stable gaps, not for filling large cracks or repairing damaged drywall. Tool it smooth, remove excess immediately, and let it cure before painting.
Masking should be precise rather than excessive. Quality painter's tape can protect edges, but it does not replace careful cutting-in. Tape should be applied to clean, dry surfaces and removed at the right time to avoid pulling up fresh paint or leaving ragged lines.
For a high-end interior, wall prep is rarely a one-pass process. A patch may need a second skim coat. A stain may need a second primer coat. A wall that looked smooth in the afternoon may reveal a flaw once evening light hits it. Taking the time to correct those issues before painting is what produces a clean, even result.
Roll On Painting approaches preparation as part of the finish system, not as an item to rush through before color begins. That standard protects the appearance of the property and helps paint perform as it should.
When walls are clean, dry, sound, smooth, and properly primed, the paintwork becomes the easy part. Give the surface the attention it deserves, and every coat that follows has a far better chance of looking refined for years.